How to Create Your Own Unique Sew-On Patches
Have you ever wanted a style that screams “you”? What if you could turn your favorite designs, logos, or artworks into clothes that showcase your unique personality?
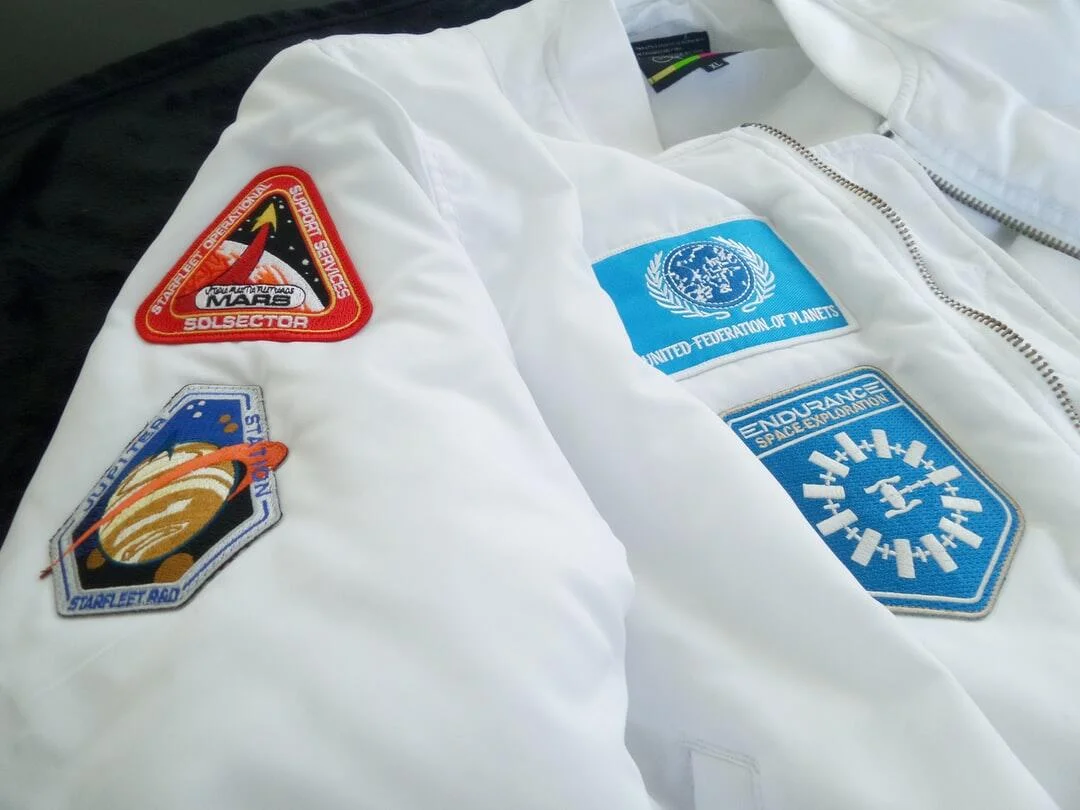
Sew-on patches are a fun, creative way to personalize your wardrobe.
They can add a pop of color, show off your favorite band or sports team, or even just make a statement. This guide will walk you through how to create your very own patches by engaging in some thrilling DIY embroidery.
Choose Your Design
First things first: decide on a design you love! You might sketch it yourself or find some inspiration online. Keep your design simple, as intricate designs can be challenging to capture with stitches.
Once you have your idea, you’ll need to draw it onto paper. If drawing isn’t your thing, print a picture and use it as your template. Remember, you want custom designs, so make it something that represents you!
Gather Your Materials
To create your patches, you need a few supplies. You’ll need a:
- Embroidery hoop to keep your fabric tight
- Embroidery thread in the colors of your design
- Needle with a large eye
- Piece of fabric to embroider on
- Pair of scissors
- Pencil or pen to draw your design onto the fabric
- Piece of transfer paper (optional)
Collect all these items from an online or brick-and-mortar craft store.
Prepare Your Fabric
Get your fabric ready in the embroidery hoop. Make sure it’s tight like a drum. This will help when you sew.
If you use transfer paper, now is the time to transfer your design from the paper to the fabric. If you didn’t, trace your design directly onto the fabric using a fabric marker or a simple pencil.
Position the design so that it looks the way you want the patch to look. This careful setup is essential for top-notch fabric art.
Start Embroidering
Follow your design and use different needlecraft techniques to fill it in. You can use a basic stitch for outlining and then fill in areas with a satin stitch or a fill stitch.
Keep your stitches even and neat for the best quality. Embroidery can take time, so be patient and enjoy. This step is where your design truly takes shape and character!
Cut and Finish the Patch
Once your design is stitched, take the fabric out of the hoop. Cut around the design, leaving enough border (about 1/4 inch) to fold over or sew onto your clothing.
If you want a sturdier patch, you can sew or glue a piece of felt to the back.
Finally, sew your patch onto whatever piece of clothing you choose. Now you have custom embroidered patches that add a special touch to your outfit!
Make One-of-a-Kind Sew-On Patches
Creating sew-on patches is not just about adding something new to your wardrobe. It’s also about expressing yourself and enjoying the journey of creating something from scratch.
With a bit of thread, a needle, and a lot of creativity, you can make unique pieces that showcase who you are. Wear your newly crafted patches proudly, knowing they are one-of-a-kind, just like you!
For more crafting tips and tricks, check out the latest articles on our blog!


Post Comment